
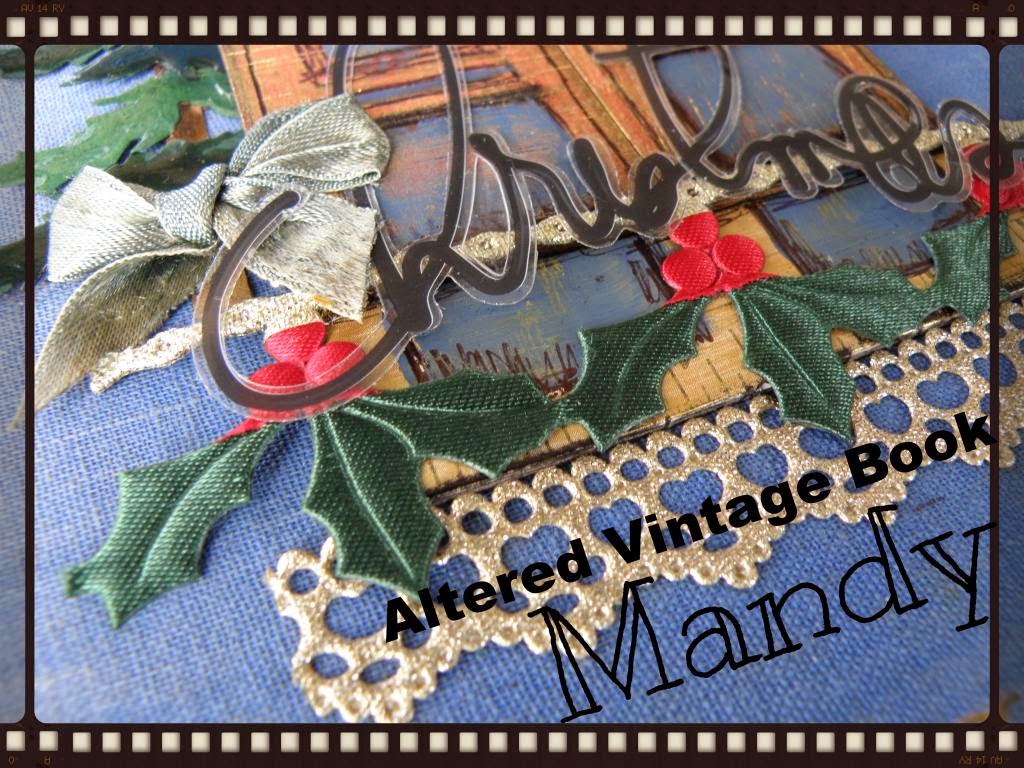
Day 5
Watercolouring is a great way to produce a muted background and shadowing to images,
or to balance out colour across a page. Build a photo into the Christmas tree for a bit of a festive look to a non-festive pic.
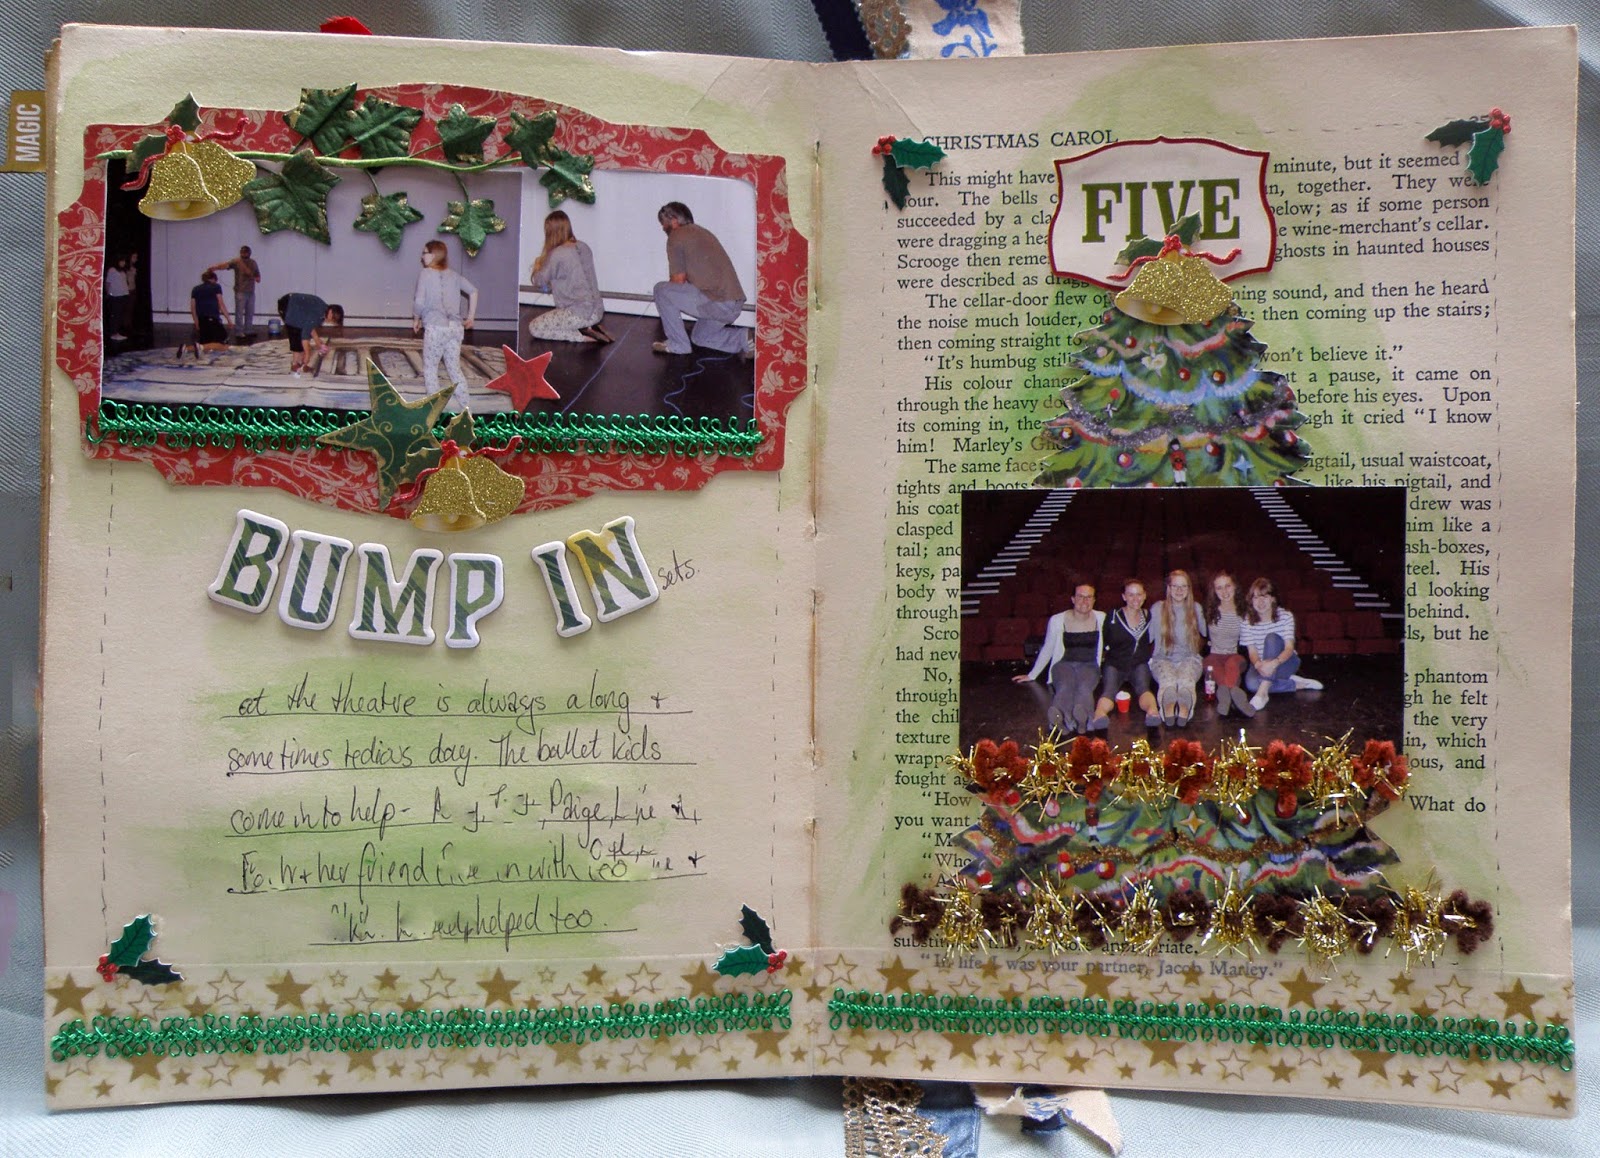
Day 6
This day was HUGE... we had so much on and I really wanted to capture a heap of things..
First is 'The Nutcracker" As we had three acts - I did a page for each act (with transparency inserts) and finished with Paige's 18th birthday - yes all on one day!
The book afforded the use of multi-pages, so took advantage of it.
I would think that Christmas Day will also be over a few pages too :)
Day 6 - page 1
Love the use of Tim Holtz 'Snow Tree' die especially when using glitter paper! The 'skater' is a diecut (came in a packet) which was just plain pattern paper. I've given it definition by drawing in lines, added in facial features, painted white, glued on lace and trim and used an ivy rubon.
The cape is the original pattern of the paper.

Paint over print to calm it down and mute the background so the handwriting is easier to see.
A little bird rubon is a nice little festive touch


Day 6 page 2
Because there were many photos to use, I've created two transparency insert pages.
(Step by step is included below)
(Step by step is included below)

Day 6 - page 3
The trick is to make sure your front pictures match exactly your back picture so when it flips over, its all squared up and plain backs of the photos on reverse arent shown. If there is overhang like the bottom photo on the right... colour it and use for journaling :)
It's also lovely to get a peekaboo at photos on the other pages.

Day 6 - page 4
I didnt have a matching photo (on the top left) to match the back to the front ,
so instead made a frame, and added journaling.
so instead made a frame, and added journaling.

Here's how its done....
First the guttering in the spine needed addressing with the wide washi tape.
First the guttering in the spine needed addressing with the wide washi tape.
The transparency is a 12 x12 made by KaiserCraft and
cut down to two pieces to fit inside the book pages. The pieces are just resting here.
(Transparencies are so hard to define when photographing!!!)
cut down to two pieces to fit inside the book pages. The pieces are just resting here.
(Transparencies are so hard to define when photographing!!!)

Run a bit of contrasting washi tape down one side....this is the reverse side of the washi tape...
tear off a strip and placed it face down, then press the edge of the transparency to it. I find it an easier way to keep the edges 'straight' when adhering one to the other.
tear off a strip and placed it face down, then press the edge of the transparency to it. I find it an easier way to keep the edges 'straight' when adhering one to the other.

Then stick down on the left hand side page near the spine with the transparency flipped to the right.
(The washi is right side up and the transparency is in reverse)
(The washi is right side up and the transparency is in reverse)

Once stuck down, flip the transparency to the left and run another piece of washi tape along the edge so both sides are finished off and adhered well in place :)

Then repeat the same with the other side.
I've made it so the brighter side (the face up side) of the transparency is the centre page. As with most transparencies, the face side up is more defined in colour and image, and the reverse - not so much.
I've made it so the brighter side (the face up side) of the transparency is the centre page. As with most transparencies, the face side up is more defined in colour and image, and the reverse - not so much.

Here's how it looks at the base (if you can work out what I mean)
I've held the left side up and the right side is flat.
I've held the left side up and the right side is flat.

Left side about to be flipped and the other just resting open.

Day 6 Page 5
I've repeated the sticking in of another transparency (only one this time) on the next page.
The word 'then' is actually there for the last page (the underneath book print page) - but it also works for this transparency page too..
Thats the great thing about using transparencies...
there are so many ways to make the most of see-through embellishments, photos, words etc.
The word 'then' is actually there for the last page (the underneath book print page) - but it also works for this transparency page too..
Thats the great thing about using transparencies...
there are so many ways to make the most of see-through embellishments, photos, words etc.


Day 6 - page 6
Again, I didnt have a matching backing photo for the top left hand side, so attached a journaling card.
You can see the word 'Then' with its intended use - Paige's birthday.
And see those little tabs sticking out of the top photo....weeeeell......
Again, I didnt have a matching backing photo for the top left hand side, so attached a journaling card.
You can see the word 'Then' with its intended use - Paige's birthday.
And see those little tabs sticking out of the top photo....weeeeell......

Already with too many pages for the 6th, tabbed and stored Paige's 'night' out with the senior ballet dancers under the top photo - works a treat!

Some might say - too many photos -and I could cut them down....but to us... these are big events in our lives that take up so much time, effort and emotion, that it wouldnt be right not to be in this book.
And like with any scrapbooking project - you make up the rules... or better still - dont have any!
LOL!
----------------------------------------------------
30 Days of Lists
Weeeell, this is much more simplified!!
30 Lists - Day 5
And like with any scrapbooking project - you make up the rules... or better still - dont have any!
LOL!
----------------------------------------------------
30 Days of Lists
Weeeell, this is much more simplified!!
30 Lists - Day 5
Included is a tiny pic and a torn off part of my list for that day
30 Lists - Day 6

-----------------------------------------------
Why not join in and show us what you've created by using Mr Linky!
HERE
This is looking fabulous, Mandy. Love how you have used those transparencies - I'm definitely going to have to add one somewhere in my December Daily this year. AND your little lists book......well I just love it.
ReplyDeletelove how you used the transparencies...they look fabulous! And I really like that skater girl....think I've dilly dallied too long now....but funnily, I found a little book today when I was having a 'chuck out' that would make a great 'list' book.......never say never, right??!!!
ReplyDeleteSoooooooo gorgeous! LOVING that snowman on the second page!!!!!
ReplyDeleteLoving your use of transparencies to hold extra photos - and you can never have too many photos, in my opinion that's what scrapbooking is all about, the rest is just window dressing.
ReplyDeleteWonderful job with adding more pictures (love that!) Thanks for a great tutorial too about the transparencies :)
ReplyDeletei love these fabolous pages !
ReplyDeleteOMGosh, Mandy's books are soooo amazing! I love all the tips of working with an old book, like washing down the text print and adding extra photos, and the transparency inserts are absolutely fabulous! Love it all!
ReplyDelete